If you’re into crafts and really enjoy burning candles in your home or giving them as gifts, this blog post is for you because we’re showing you the 10 easy steps to make your own candle. That gives you total control over how healthy it is to burn, what the scent is like, and how big or small it is.
Why Make Your Own Candles?
Well, aside from the obvious—it’s fun—why would you want to make your own candle?
Easy: the ingredients in some candles can be toxic. It’s hard to believe something as seemingly innocuous as a little beautifully fragranced candle on your counter could be polluting the air you breathe, but it’s true. Let’s look at what could be in there:
Paraffin
This is the big one. This is in so many candles—even soy candles, sometimes (so double check the label before you buy one!). When you burn paraffin candles, toxic chemicals like benzene and toluene, which are known to be harmful to humans.
A study from South Carolina State University tested paraffin candles, which are petroleum-based, and soybean candles. None of the candles had any added scents or colors. The candles were burned for up to six hours in a controlled space and then the researchers tested the air. Nasty chemicals were found after burning the paraffin candles, but not after burning the soy candles. Non-GMO 100% soy is a better choice than paraffin, but we still prefer beeswax as the best option.
Empowered Sustenance has a very interesting blog post that discusses how beeswax candles can actually make your air healthier to breathe by removing toxins and reducing asthma, allergies, and hay fever. You won’t get those benefits from soy, and you definitely won’t get them from paraffin candles!
Lead
We’ve all heard the dangers of lead exposure, but did you know you might be exposing yourself to it each time you light a candle to create ambiance or scent a room? This one’s actually a little bit less of a threat these days because the U.S. Consumer Product Safety Commission banned the use of lead in wicks in 2003. It used to be a pretty common practice to add lead back to the wicks in scented candles to harden them because they were softened when the fragrance oils were added, and it may still be done outside of the U.S. To be on the safe side, look for labels that say lead-free or use non-metal wicks. Cotton is a popular choice.
Fragrances
We’ve mentioned before that synthetic “fragrance” in an ingredients list can mean basically anything and the components of that fragrance don’t have to be listed. This could trigger an unexpected allergic reaction.
How to Make a Basic Candle
As with everything from food to skin care, sometimes it’s just best to make candles yourself so you know what’s in them. Here are the 10 easy steps to make your own candle (really nine steps, since the last one just says to light and enjoy!).
What You Need
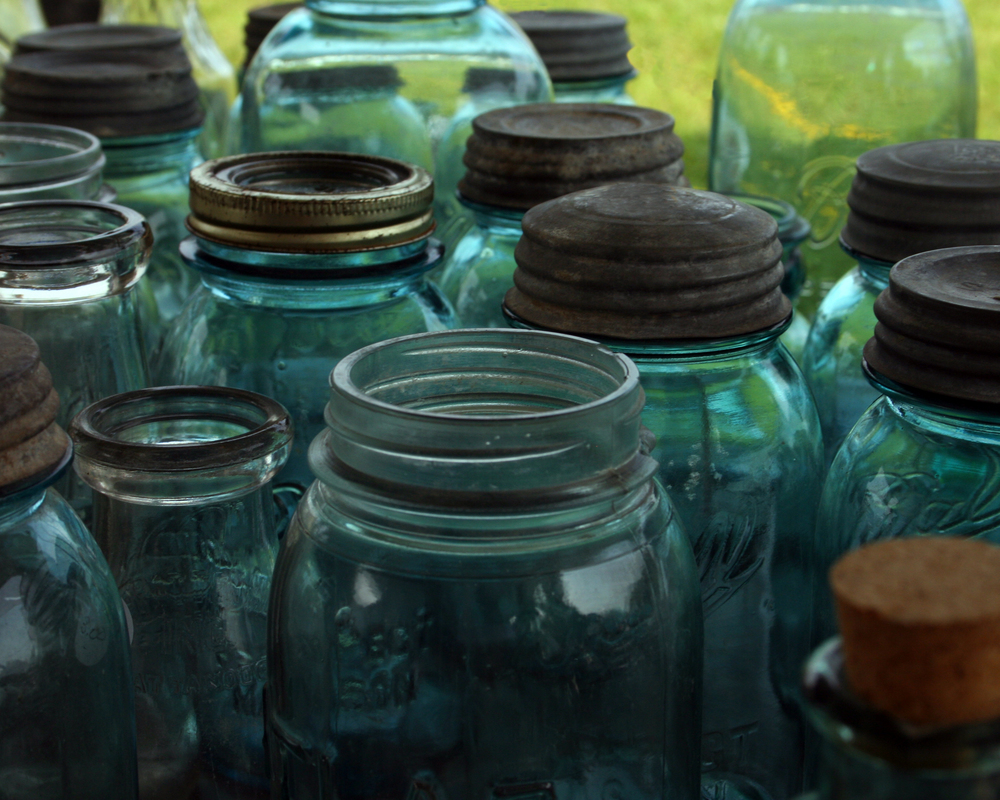
- A 12-oz glass jar
- 8 oz filtered soy wax or beeswax
- 1/3 cup to 1/2 cup of coconut oil
- Cotton or hemp wick Note: The wick size you need will depend on the diameter of your container. Most candle supply stores will have a wick-choosing guide based on the diameter of the jar you’re using. For example, Busy Bee Candle Supply has one.
- Scissors
- A wooden stick long enough to stretch over the opening of the jar (pencil, dowel, chopstick, etc)
- Double boiler or small pot and large pot (another option is an oven-proof container)
- Thermometer
- Essential oils of your choice (optional, and keep in mind the candle will have a honey-like scent naturally)
How to Do It
- Measure a piece of the wick so that it will extend, straight and taut, from just above the bottom of the jar (about ¼”) to the top, with a little extra for tying around the wooden stick (about 2.5” extra).
- Melt the wax over medium heat in your double boiler, pots working as a double boiler, or oven. Aim for a temperature of about 145-150 degrees, and don’t exceed 170.
- Add the coconut oil and essential oils, and continue to heat until it’s all blended together.
- Tie one end of the wick around the wooden stick and perch it across the mouth of the jar.
- Cool the wax/oil mixture until its temperature is lower than 160 but still in liquid form, then pour a little of it into the jar, centering the wick again if necessary.
- Wait for the wax to dry before proceeding.
- Fill the jar to about an inch or so below the opening of the jar with the wax/oil mixture (slowly!)
- Wait for the wax to dry (a couple of days), then untie the top of the wick and snip it to about ½”.
- Decorate your jar if you’d like.
- Light the wick and enjoy!
Adding Scents
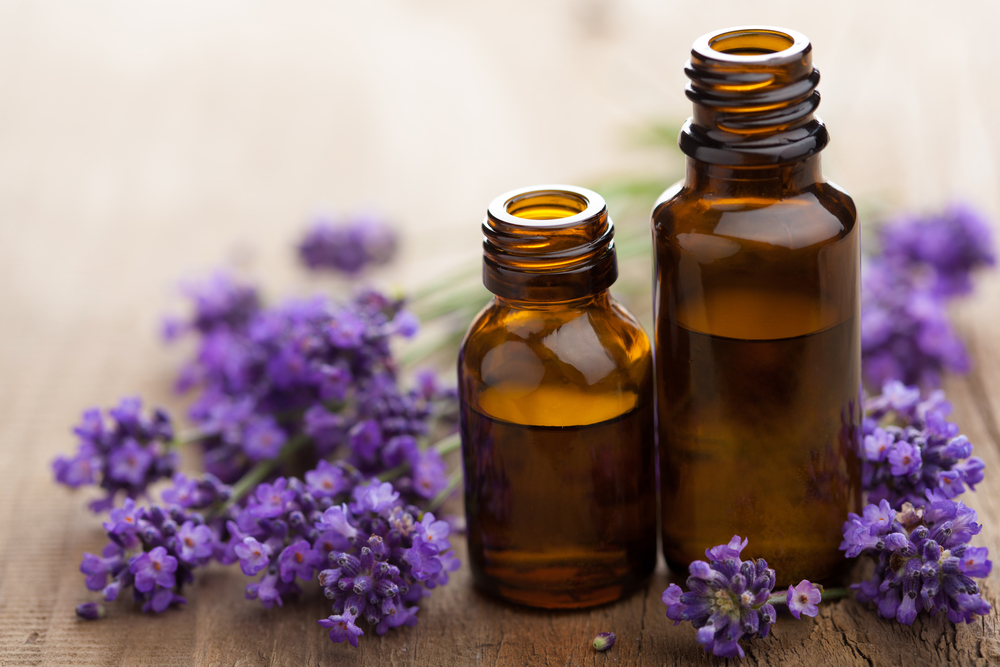
As mentioned above, the your candles will have a natural scent depending on the type of wax you used, but if you want to have a different kind of scent or use your candles in aromatherapy, essential oils are your best friend. For a 12-oz container, start with around 50-75 drops.
Why Coconut Oil?
- It adds an more natural fragrance when you use unrefined coconut oil.
- It stretches the beeswax further so you can make more candles (beeswax can be expensive!).
- Beeswax has the highest melting point of any wax, and when you put that extremely hot beeswax into a glass jar, it could make it crack. By cutting it with coconut oil, you lower the melting point and therefore make it less likely you’ll ruin your jar when you pour the wax in.
How to Use Your Homemade Candles
Meditation aid: Add a calming scent to your candle and light it when it’s time to meditate. You may even keep your eyes slightly open and focus on the flame as you clear your mind.
Aromatherapy for changing your mood: Add citrus (sweet orange or grapefruit will pair well with the honey and coconut) to energize yourself or lavender to unwind in the evenings..
Give as a gift: These make a beautiful gift from the heart for friends and family members. Have fun decorating the jar with their favorite colors and give it as a housewarming gift.
Bringing healthy energy to your home: Beeswax candles can actually help purify the air in your home. That alone is enough to bring about a more positive energy there. They’re also beneficial when you’re trying to create a calming ambiance without introducing new toxins to the area. There’s something mesmerizing about a flickering candle flame that can make stress melt away.
Experiment Some More
Once you’ve gotten comfortable making jar candles, you can experiment with candle molds, play around with fragrances, and just get creative. Remember never to leave your candle unattended while it’s burning.
If you still prefer to purchase your candles at least some of the time, but you want healthier options, try companies that use natural soy wax with no additives, or beeswax from a bee keeper who treats their bees well.
Hi,
Thanks for giving me a tips of making candles. I will follow this steps while making candles.Nice article
This is really smart. There’s really no reason for more than a 1-2 ingredient candle when at their core candles are just wick and fuel. The second ingredient should be whatever fragrance you want either via essential oils or infused from whole herbs. And that’s it. No cancer causing carcinogens, no laundry list of chemicals you wouldn’t bet let alone bring into your home unless you were dissolving a body. Simple and eco-friendly like Goddess intended.
Thanks for checking this out and for your support. Happy Candle Making! ;)